May 23, 2023
Changing the wax filter on your hearing aids is an important maintenance task that helps keep them functioning optimally. If you notice no sound from your hearing aid, try changing the wax filter. Here are step-by-step instructions on how to change the wax filter on an Oticon hearing aid:
- Prepare a clean and well-lit workspace: Find a clean and well-lit area where you can comfortably work on your hearing aids.
- Remove the dome: The dome is the clear plastic piece of the hearing aid that goes into your ear. This comes off by peeling the device off of the wire/end piece of the hearing aid.
- Identify the wax filter: Locate the wax filter on your hearing aids. It is a small white circular piece on the tip of the hearing aid. The filter is under the dome.
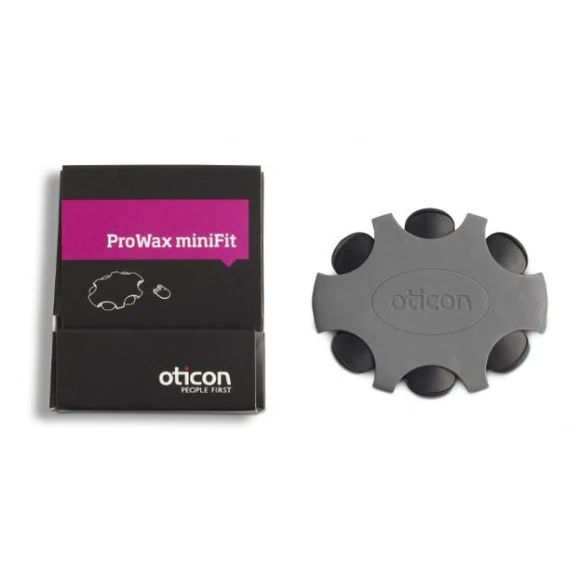
- Get a new filter: Oticon’s wax filter tool has removable black filters. Pull one of these filters out of the package.
- Remove the old filter: Push the empty side of the black tool into the tip of the hearing aid. You will feel a click and the old filter (white piece) will be removed from the hearing aid and is now on the tool.
- Insert the new filter: Rotate the tool so the new filter is being pushed into the tip of the hearing aid. Once the filter is pushed in you will see the white piece in the hearing aid and the tool will only have the old white filter on it.
- Reinsert the dome: Push the dome back onto the end of the receiver of the hearing aid to cover the filter. You have successfully changed the hearing aid filter.
Check out this video for extra guidance on changing your wax filter.
Remember, if you are unsure about any step or encounter difficulties during the process, it is always recommended to consult with a hearing healthcare professional who can provide guidance and assistance specific to your hearing aids.